Work from top to bottom, using the paint across the grain, then tipping it off with the grain. For cabinet interiors, use the paint with a smooth-surface mini roller, which leaves a small orange-peel texture. Sand all surface areas with 280-grit paper, then vacuum and clean with tack fabric. For the last coat, break out a brand-new brush.
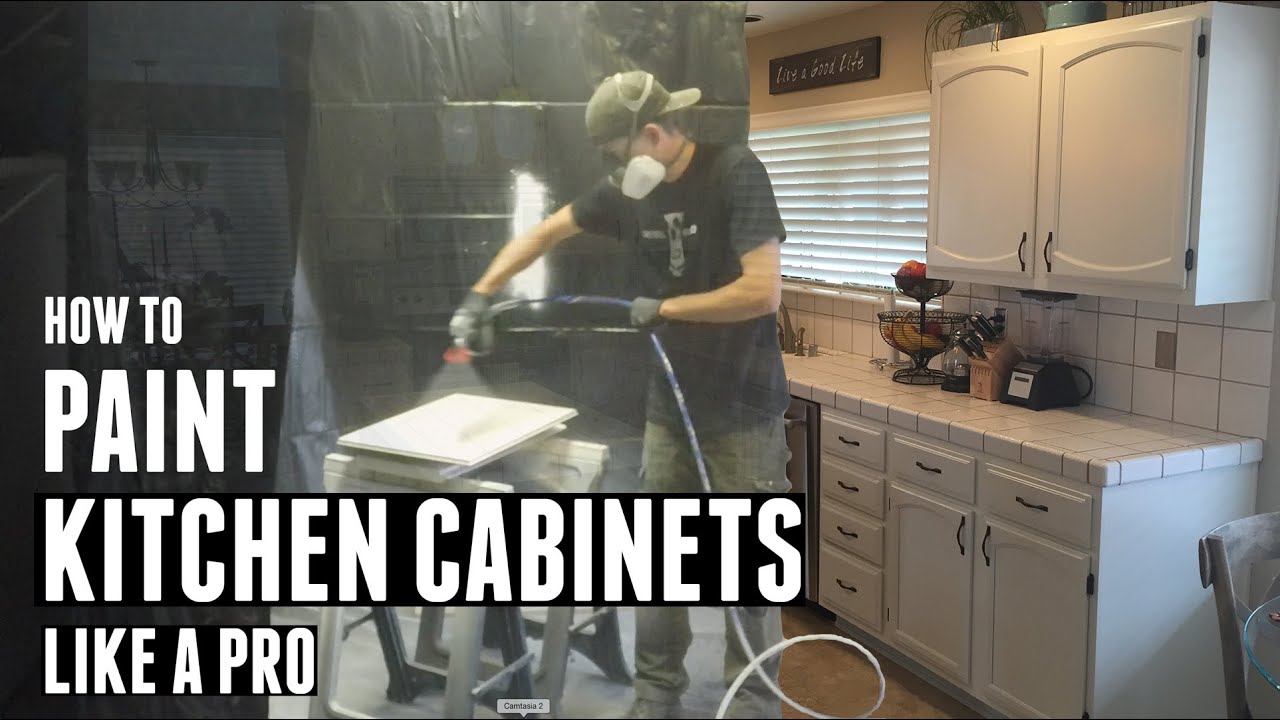
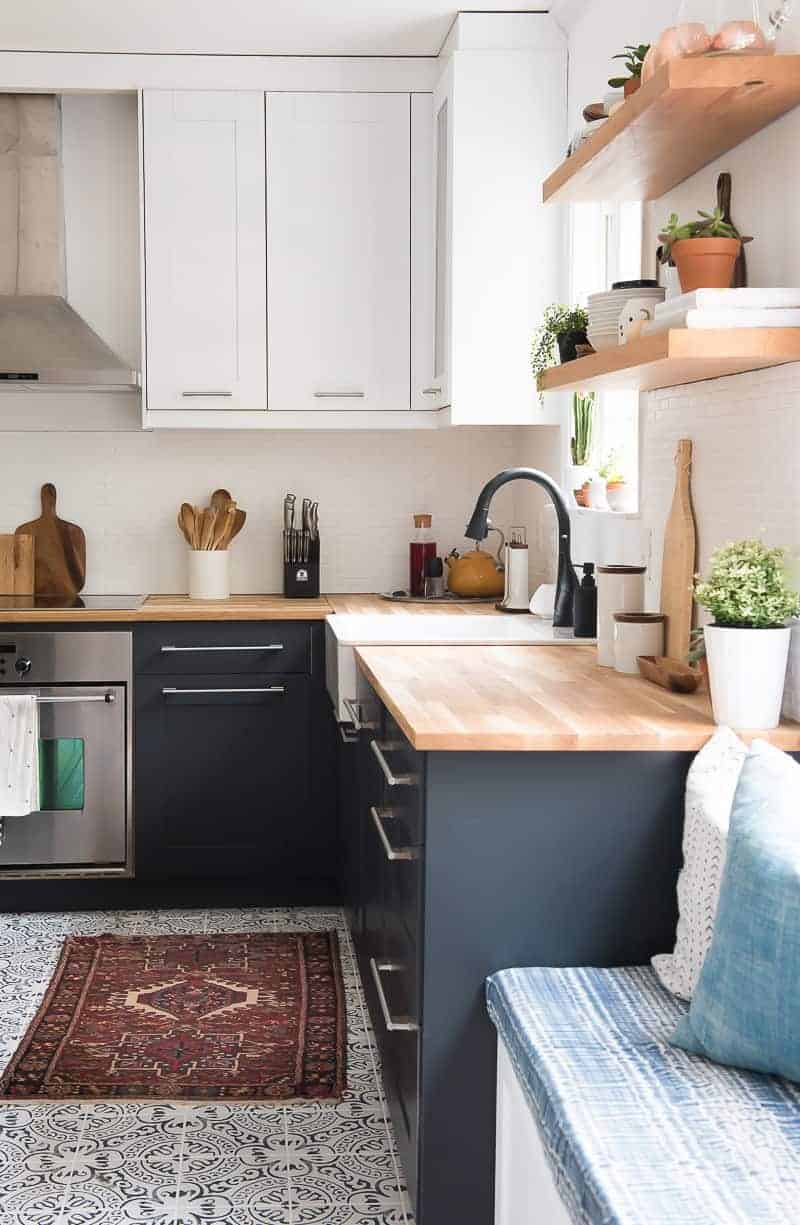
Brushes choose up dust, so constantly put paint into a different container to avoid contamination of the paint in the can. off white painted kitchen cabinets. If any paint is left over, pour it back into the can only through a fine-mesh strainer. The technique for prepping and painting doors, drawers, and racks is the same as on the cabinets, other than that all the work is done on a table to decrease the possibility of drips, runs, and sags.

Follow the exact same prep series when it comes to cabinetsclean with deglosser, fill the holes, sand, vac, and tackand the same priming series: in this case, 2 coats of brushing putty. Smooth the flat surface areas on the panel and the frame with a random-orbit sander - painting cherry cabinets white. On bevels or profiles, use elbow grease and a medium-grit sanding sponge.
Some Known Details About Spray Painting Kitchen more info Cabinets Like read more A Pro click here - click here Paint Spray click here Tools
When priming or painting paneled doors, brush in the following series to get the best-looking surface in the least amount of time: begin with the area around the panel, then do the main field of the panel, then complete with the stiles and rails around the edges. As you go, wipe up any paint that ends up on nearby dry surface areas.
After vacuuming and adding all the surface areas, spray a fast-dry guide on any areas with spackle or bare wood where the sandpaper "burned through" the guide. Wait an hour prior to sanding. Get rid of all dustfirst with a vacuum, then with a tack clothand apply the finish coat. Idea it off with the grain.


Vacuum and tack every piece, then brush on the final coat - paint gun for cabinets. To prevent drips on outdoors edges, pull the brush toward them. To prevent drips in corners, initially discharge the brush by removing the paint, then paint by pulling the brush away from the corner. If a drip laps onto a dry surface area, clean it up right away.
How To Paint Kitchen Cabinets – Give Your Units A Whole New Look for Beginners
John Dee, a perfectionist, prefers to do one side at a time, keeping the faces flat so they don't get runs. However that's 48 hours of drying time per doorone day per side (menards cabinet paint). Here's his method for painting both sides in a day. Twist 2 screw hooks into holes drilled in an inconspicuous door edge (the lower edge for bottom cabinets, the upper edge for leading cabinets).
Let it dry for an hour while resting flat, then tilt the door up onto its hooks and put a drywall screw into an existing hardware hole. Hold the tilted door up by the screw and paint the door's rear end. When you're done painting, get the door by the screw and one hook and hang both hooks on a tough wire clothes wall mount - kitchen cabinet touch up paint.
Await the final coat to dry, then put back the racks. Get rid of the tape over each door's number, set up the hinges and knob, then hang it in the opening it originated from. Change the drawer pulls (or even better, include brand-new ones) and reinstall each drawer in its original opening.